Showing posts with label Patterns. Show all posts

Wednesday, April 22, 2015

Cat Toy - Basic Ball

My kitty is a very big part of everything I do.  When I'm at home he follows me everywhere, constantly getting into my stuff.  Sometimes this is really cute.  Other times it gets tedious pretty fast (especially when he goes for the merino wool!)  He can be a very big inspiration as well.  Recently I've started making some geeky cat toys for him.  It helps to keep him busy and out of my working yarn!  Not to mention it is too adorable watching him going crazy over a pokeball.

I've included a pattern for a basic ball, knit in the round.  It is very versitile as it can be adopted by so many different colour patterns and gauges.  I usually stuff it with catnip and bell for an added treat that makes them pretty irresistible. 

Materials


 - 4 Double-pointed needles; size 4 US 

- tapestry needle 

- Stuffing.- I use scrap yarn for stuffing on the chance that my kitty is munching on it.         *Polyfil stuffing is not digestible and should not be used*
- catnip 
- bell (optional) 

Finished size approx 2" x 5" around


Abbreviations


Sts - Stitches 
CO - Cast on 
K - Knit 
KFB - Knit front and back 
K2tog - Knit two stitches together 

Pattern

Co 6 sts, divide between 3 double-pointed needles and set up for working in the round (6 [2-2-2]) 
Row 1: KFB 6 times (12 [4-4-4]) 
Row 2: Knit to end Row 3: [K1, KFB] Repeat 5 more times (18 [6-6-6]) 
Row 4: Knit to end 
Row 6: [K2, KFB] Repeat 5 more times (24 [8-8-8]) 
Row 7-17: Knit to end 
Row 18: [K2, K2TOG] Repeat 5 more times (18 [6-6-6]) 
Row 19: Knit to end 
Row 20: [K1, K2TOG] Repeat 5 more times (12 [4-4-4]) 
Row 21: Knit to end

Stuffing

This is usually the point where I stuff my cat toy.  Anything smaller and I can't fit my fingers or the stuffing in!  If you are having trouble stuffing your cat toy I would recommend going back to before Row 20. 

I fill my ball about halfway before adding the catnip and bell.  About 2 pinches of catnip does it for me.  Then I put a little more stuffing on top and start to close it up. 

Finishing

Row 22: K2TOG 6 times (6 [2-2-2]) 
Finish by pulling tail through last 6 sts. 

Weave in all ends.  Or don't.  My cat loves playing with the strings as much as batting it around sometimes. 


Thank you for reading!  I would love it if you shared some pictures of your cats playing with their new toys.  Any questions or comments regarding the pattern please contact me.

Facebook: https://www.facebook.com/NotYourGrandmothersKnitting
Twitter: https://twitter.com/tstrr90
Instagram: https://instagram.com/tstrr90/
Etsy: http://www.etsy.com/shop/NotGrandmasKnits
Ravelry: http://www.ravelry.com/people/tstrr90

Sunday, August 10, 2014

Bow ties are cool


You may remember that after Aubcon I started working on a pattern for bow ties.  Well that got put on the back burner for a few other projects.  Since then I've got a bunch of stuff done and have decided to go back to it.


In honor of all things Doctor Who (and generally being classy) I'm happy to announce that I've perfected a pattern for bow ties that I like.  You can find the finished item now available in my Etsy shop.

Pattern is knit in the round on two double pointed needles.  Uses Judy's magic cast on and Kitchener stitch for a seamless bow.  The collar is knit flat and the button loop is made with basic crochet chain stitches.


Materials
- Three double pointed needles size 4
-Tapestry needle
-One skein of your favourite colour yarn (medium weight)
-Crochet hook size 4

                                                     Abbreviations

Sts - Stitches
CO - Cast on
K - Knit
P - Purl
K2tog - Knit two stitches together
P2tog - Purl two stitches together
BO - Bind off
Ch - Chain one
Pattern

Gauge is 6 sts x 8 rows knit in 1".

Bow

CO 20 sts using Judy's magic cast on
Knit all rows until piece is 3" long or desired length
Set aside


Collar/Headband

CO 4 sts
K in garter stitch until piece measures 12" or desired length
K2tog, K2
K2tog, K1
BO 1
With last st ch5 then slip stitch back into the collar, creating a loop for the button

Take bow and attach to collar by pinching the rectangle of the bow and looping scrap yarn around it.


Finally weave in the ends and sew on a button.  Now you're all set for a night on the town!


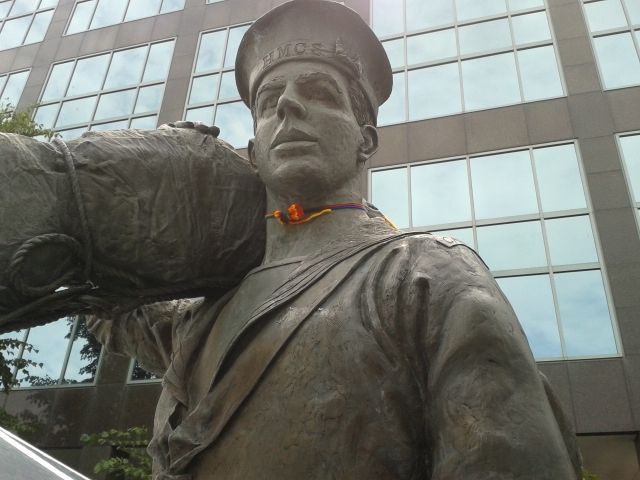
I am so in love with these bow ties that I made up a whole bunch of mini ones using half the CO stitches.  The wifey and I then got all dressed up and put them out an about Halifax.  We figured there were quite a few statues that could go for  good bow tie!


Photography done with the assistance of Kaidáin Ivy’s Sanctuary for Magical Misfits


Sunday, February 9, 2014

Scarf patterns

There have been a couple requests for scarves recently.  One was an custom order based off the Green Infinity scarf.  Another one was made for one for one of the service advisers I work with.  You can find both patterns below.


Materials

-2 skeins (90 yards) Loops & Threads Cozy Wool in Fleece
-Size 12 needles
-tapestry needle

Pattern

Slip the first st of every row

CO 30 sts
K to end
K3, P to last 5 sts, K4

Repeat last two rows until scarf is desired length and block scarf.
Sew both ends of scarf together making sure not to twist it


The cabled scarf was a custom order for one of the ladies at work.  She loved the stripped ribbing from the Scott Pilgrim hat.  As an added touch I put in some cables on the edges of the scarf for a framing effect. .  Last week we had some training so I got to knit in the shop, this got some pretty odd looks from the other guys there.  It got pretty cold and after a while the scarf I was making ended up wrapped around a few of us to keep warm!  

A chart for the pattern is available below the written pattern


Materials

-1 skein (185 yards) Lion Brand Homespun in Sierra
-Size 10 needles
-tapestry needle

Pattern

Slip the first stitch of every row.

CO 30 sts
Row 1: Knit to end
Row 2: Purl to end
Row 3: C3F, K16, C3B, K1
Row 4: P6, K16, P7
Row 5: K6, P16, K7
Row 6: P6, K16, P7
Row 7: C3F, K16, C3B
Row 8: P to end
Row 9: K to end
Row 10: P6, K16, P7
Row 11: C3F, P16, C3B
Row 12: P6, K16, P7

Repeat 12 rows until scarf is desired length.

Chart made by Chartgen


Sunday, February 2, 2014

Drink Cozy pattern


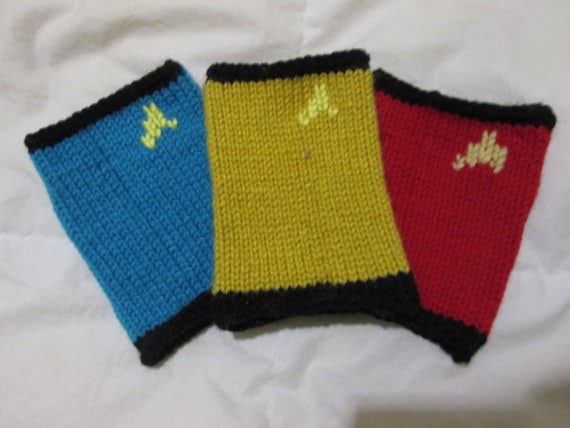
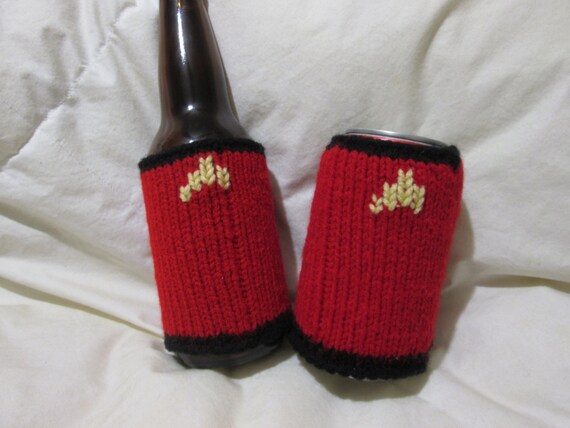
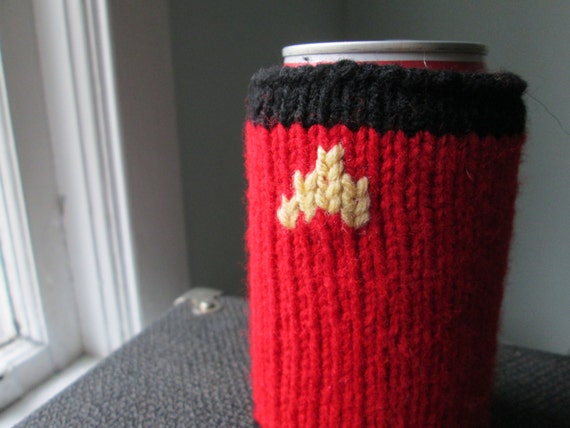
Back in November I released a post about the Star Trek drink cozy I made.  I was very excited about the pattern and since then a lot of people have expressed excitement over the cozy.  So over the past few month`s I have spent some time developing the pattern and finalizing it.  I`m happy to announce that not only is the pattern done, I've made a cozy for every colour of the away team.


Now, instead of just redshirt, the cozy is available in science officer blue and command gold!  (It took so long to find just the right colour gold!) The listings are now available on my Etsy store for individual orders, or collect them all with a custom 6-pack away team.  They make great drink markers for parties.


It`s an easy pattern and fun pattern.  The cozy is knit in the round with stockinette stitch.  The star fleet insignia is then added on afterwards using duplicate stitch.  The pattern is now available for purchase here on Ravelry.


Monday, December 23, 2013

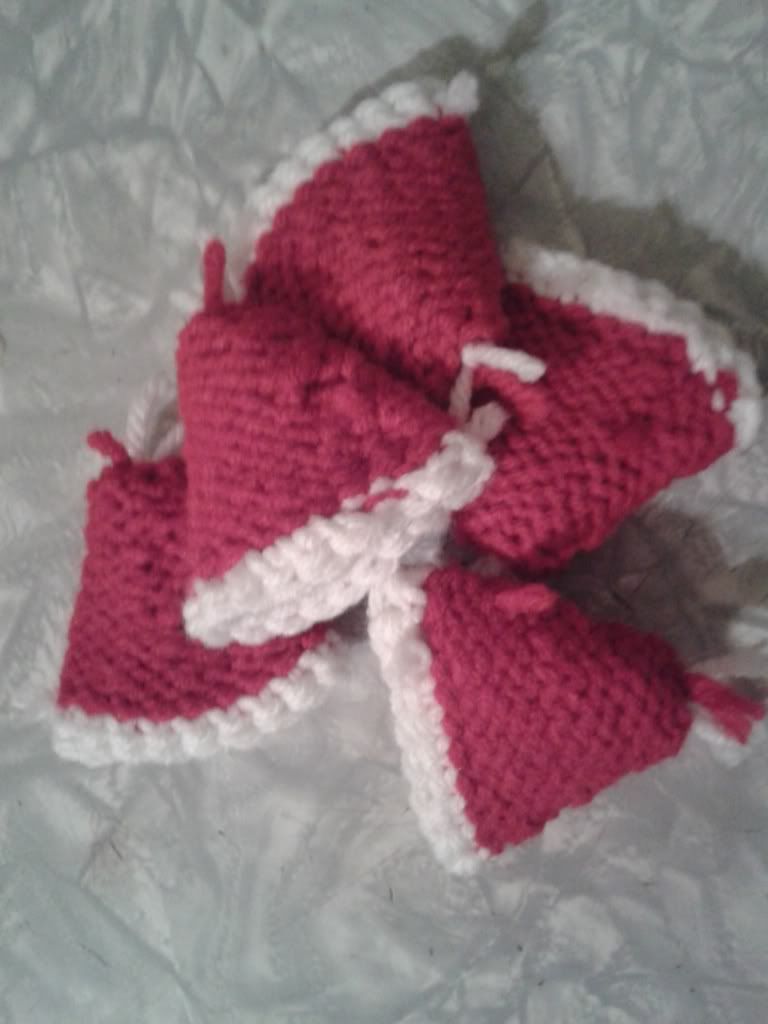
Lil Santa hats


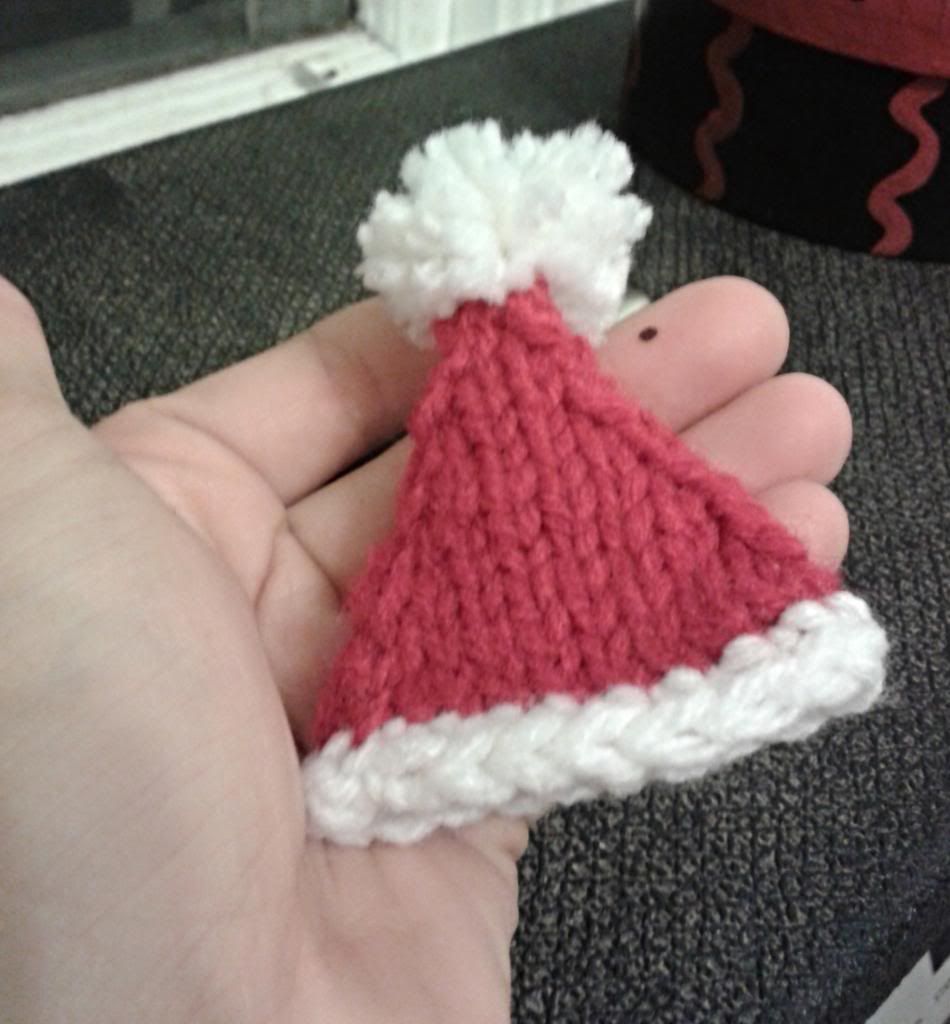
My workplace has been treating me pretty well for the holidays.  First I got a week and a half off. Which is awesome, having worked through Christmas and New Years for the past few years.   Next the ladies at work got everyone a Christmas card complete, with gift cards.  My gift card was for Micheals, the ladies know me so well!  I needed something that I could whip up for them overnight, before we left for the holidays.  A customer had made each of them a little guy folded out of a pop can and it seemed like the perfect place for a little Santa hat. It was really easy to make and took me about an hour or so from start to finish.

Finished item measures approx. 3" from cuff to tip of pom-pom x 5" around un-stretched

Materials


- scrap yarn in red and white
- 4 double pointed needles sized 5mm/US 8
-tapestry needle

Abbreviations:

Sts - stitches
CO - cast on
BO - bind off
K - knit
PM - place marker
K2tog – knit two together

Hat

Using red CO 20 sts and join for working in the round. I used three double pointed needles (7-6-7)

Row 1: K10, PM, K10
Row 2: K to end Row 3: SSK, Kto 2 before marker, K2TOG, repeat
Row 4 - 5: K to end
I usually go down to 2 needles on row 9, leaving 4 sts on each needle.
repeat last 3 rows until 4 sts left.  Cut yarn and weave through remaining sts.


Cuff and Pom-pom


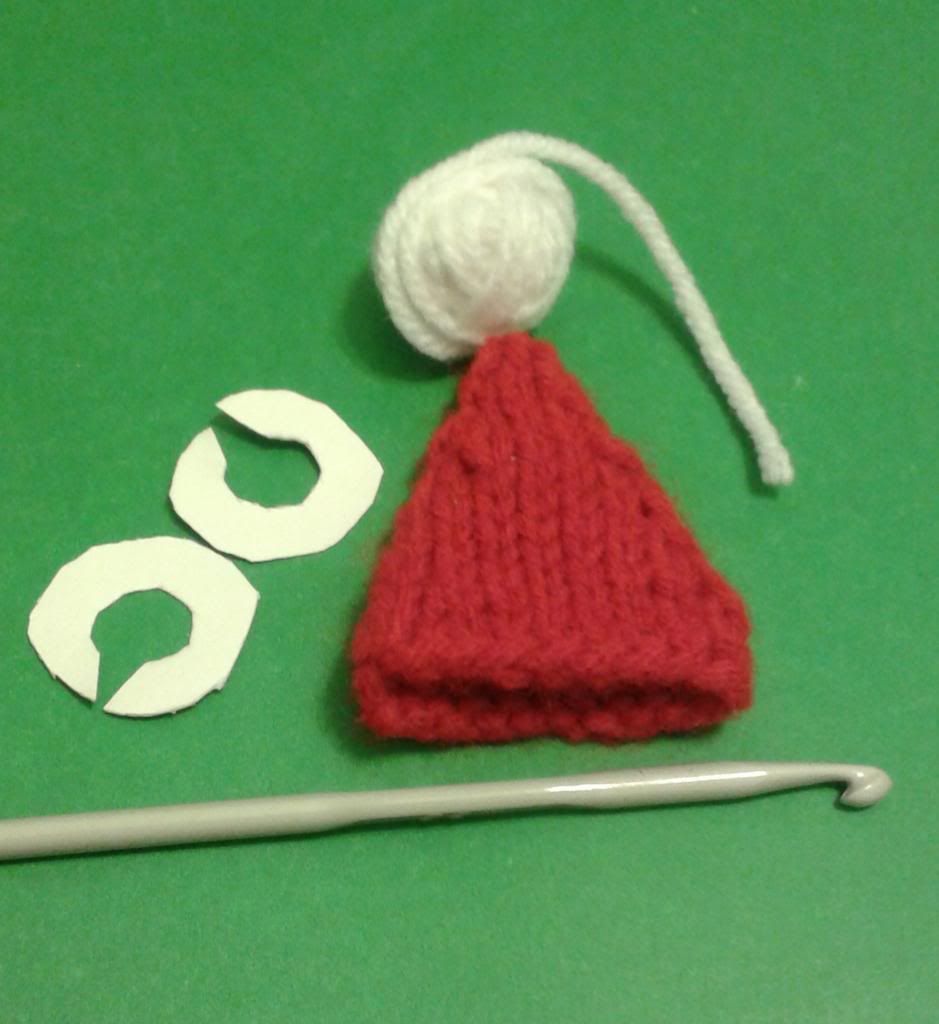
You will need the hat body, some scrap white yarn, size 4.5 crochet needle, and two small pom-pom makers.  (I make my own out of cardboard.)


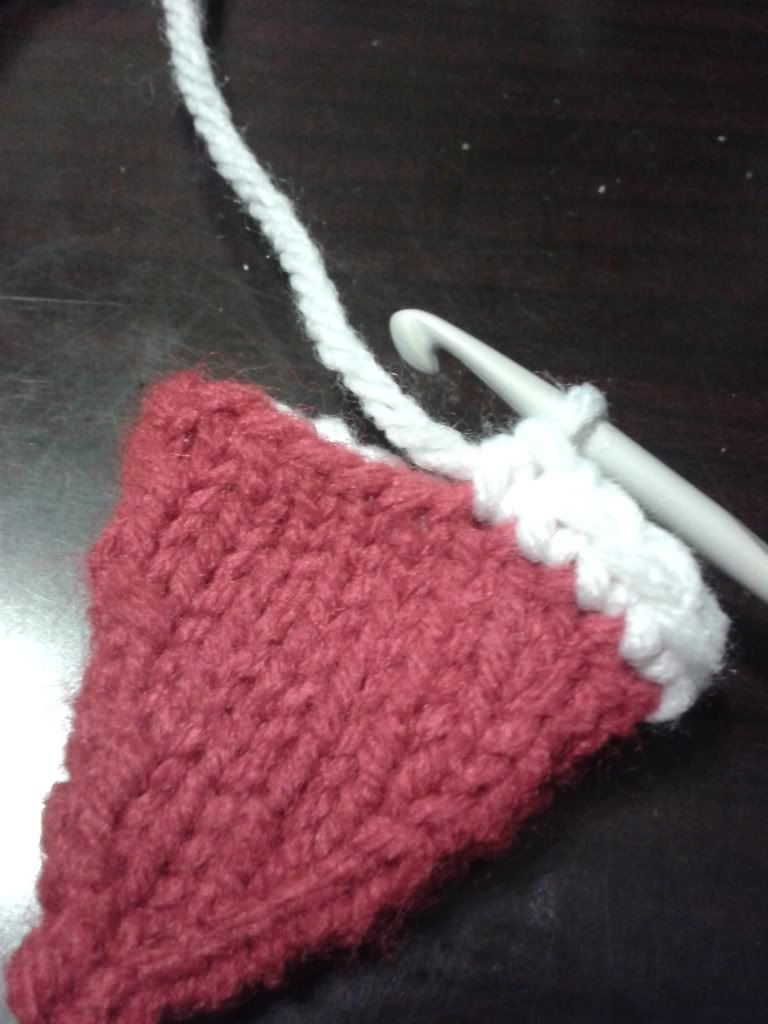
Using white, work 1 row of SC around cast on edge of hat.

Using white make a pom pom.  Attach to top of hat.  Weave in all ends and voila! You have a Lil Santa hat!  
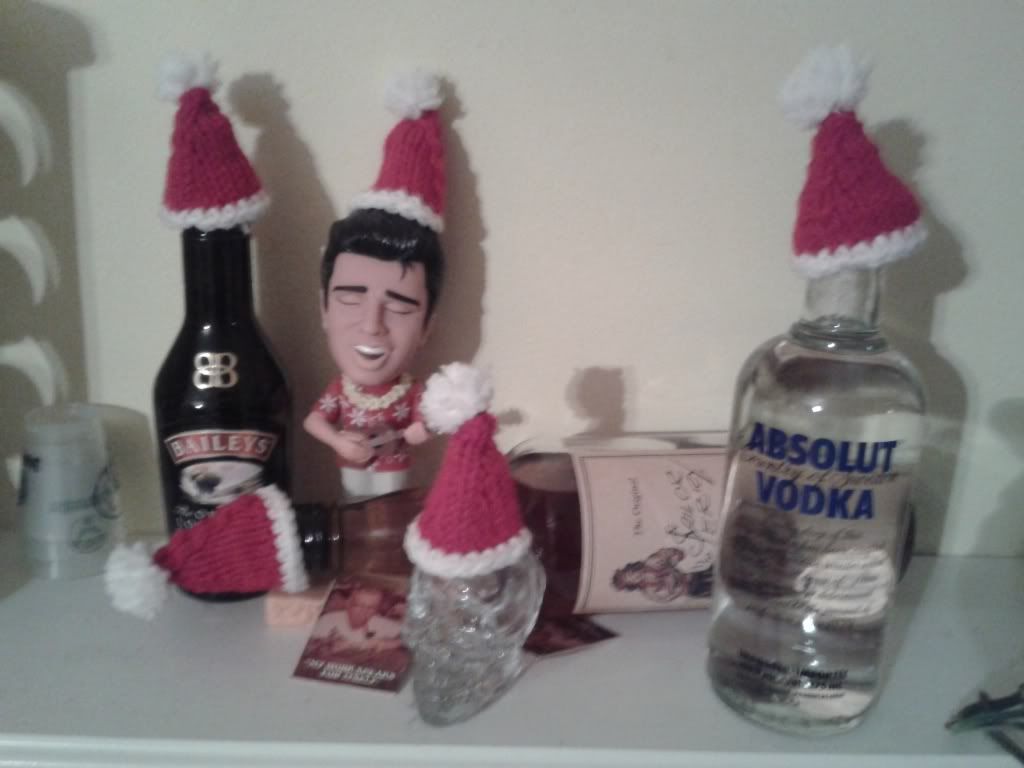
Now come the endless possibilities of where to put it!  I plan to spread the joy and yarn bomb the places I visit over the holidays.  Leaving a bit of Christmas cheer behind.  Pro tip, anytime I`m transporting a hat with a pom-pom, I turn it inside out to preserve the fluffiness.

Merry Christmas and Happy Holidays from Not Your Grandmother`s Knitting!


Go home rum, you`re drunk.


Monday, September 2, 2013

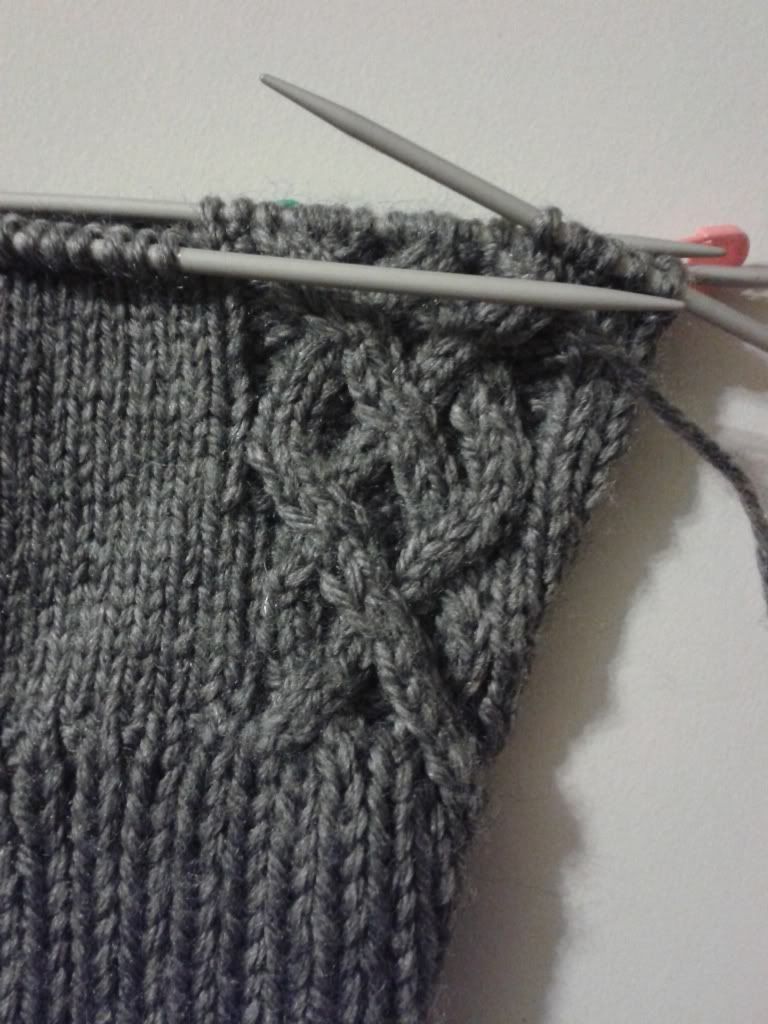
Braided Cable pattern

It's been a long hard road but my mittens are finally completed.  I've mentioned them in my previous post and it's funny to see just how far they've come.  They started out as very basic straight-knit mittens but I was not satisfied with how plain they were.  The first draft was scrapped though, I misjudged my gauge and they turned out too big.


Then I had cables on the mind.  It took a bit of trial and error but I figured out a pattern where they turn out braided.  The pattern is worked over 16 sts and repeats after 8 rows.  It is written as worked in the round.  There is a chart following the pattern.


Abbreviations


P - Purl
K - Knit
C4F - Slip 2 stitches purlwise to a cable needle, and hold to the front of the work.  Knit 2 stitches from the left needle.  Knit 2 stitches from the cable needle.
C3F - Slip 2 stitches purlwise to a cable needle, and hold to the front of the work.  Knit 1 stitch from the left needle.  Knit 2 stitches from the cable needle.
C3B - Slip 1 stitch purlwise to a cable needle, and hold to the back of the work.  Knit 2 stitches from the left needle.  Knit 1 stitch from the cable needle.


Row 1: P2, K2, P2, C4F, P2, K2, P2
Row 2: P2, K2, P2, K4, P2, K2, P2
Row 3: P2, C3F, C3B, C3F, C3B, P2
Row 4: P3, K4, P2, K4, P3
Row 5: P3, C4F, P2, C4F, P3
Row 6: P3, K4, P2, K4, P3
Row 7: P2, C3F, C3B, C3F, C3B, P2
Row 8: P2, K2, P2, K4, P2, K2, P2


They were made for a group collecting handmade hats and mittens for Metro Point Turning Shelter in Halifax.  A fantastic group of knitters are gathering together to donate 80 items for the men this winter.